

Phase 2 of Our 4k Fireplace Renovation
- Jessica Doberneck

- Feb 26, 2021
- 8 min read
Updated: Jun 3, 2022
As you read in our Phase 1 blog post, it was time to commit to our fireplace renovation now that we established a firm budget and had a design plan! Now I can walk you through the demo, contract work, drywall, stucco application, and the minor updates we did to the gas fireplace that made all the difference in the world, and a transparent cost break down!
But, first - DISCLAIMER! This project is about 95.89% done haha. And even then, I'm still deciding if I want to paint the beast or not! But, I can't keep stalling on posting the progress till it's done, because who knows when that will be! Haha.
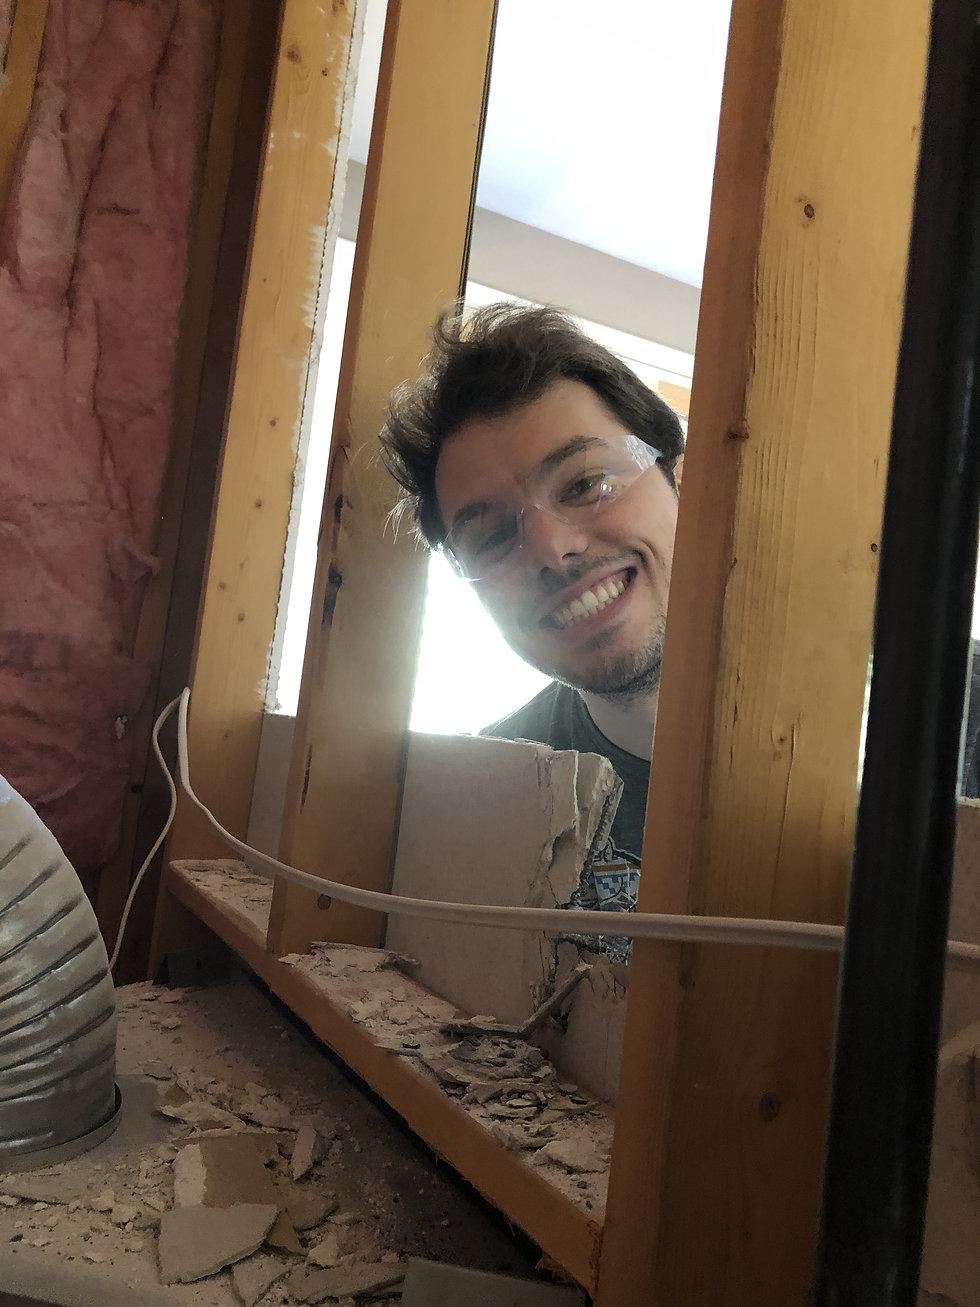
Demo Day!
We love demo day! There’s always this sense of excitement with a hit of fear because once you swing that hammer there’s no going back!
We started by marking where the fireplace framing would go so we didn't over-demo. Then we took our hammer and crowbar and went to work! We took off the drywall and tile surrounding the fireplace.


The hardest part about the demo was the tile all around the fireplace - it was a BEAST to get off! Because the tiles were so small and thick, we were just chipping away in super small chunks if any at all. The tile on the wall itself was difficult, however, the tile on the floor was NOT budging. We ended up renting a tool from Home Depot and it was up all up within an hour.

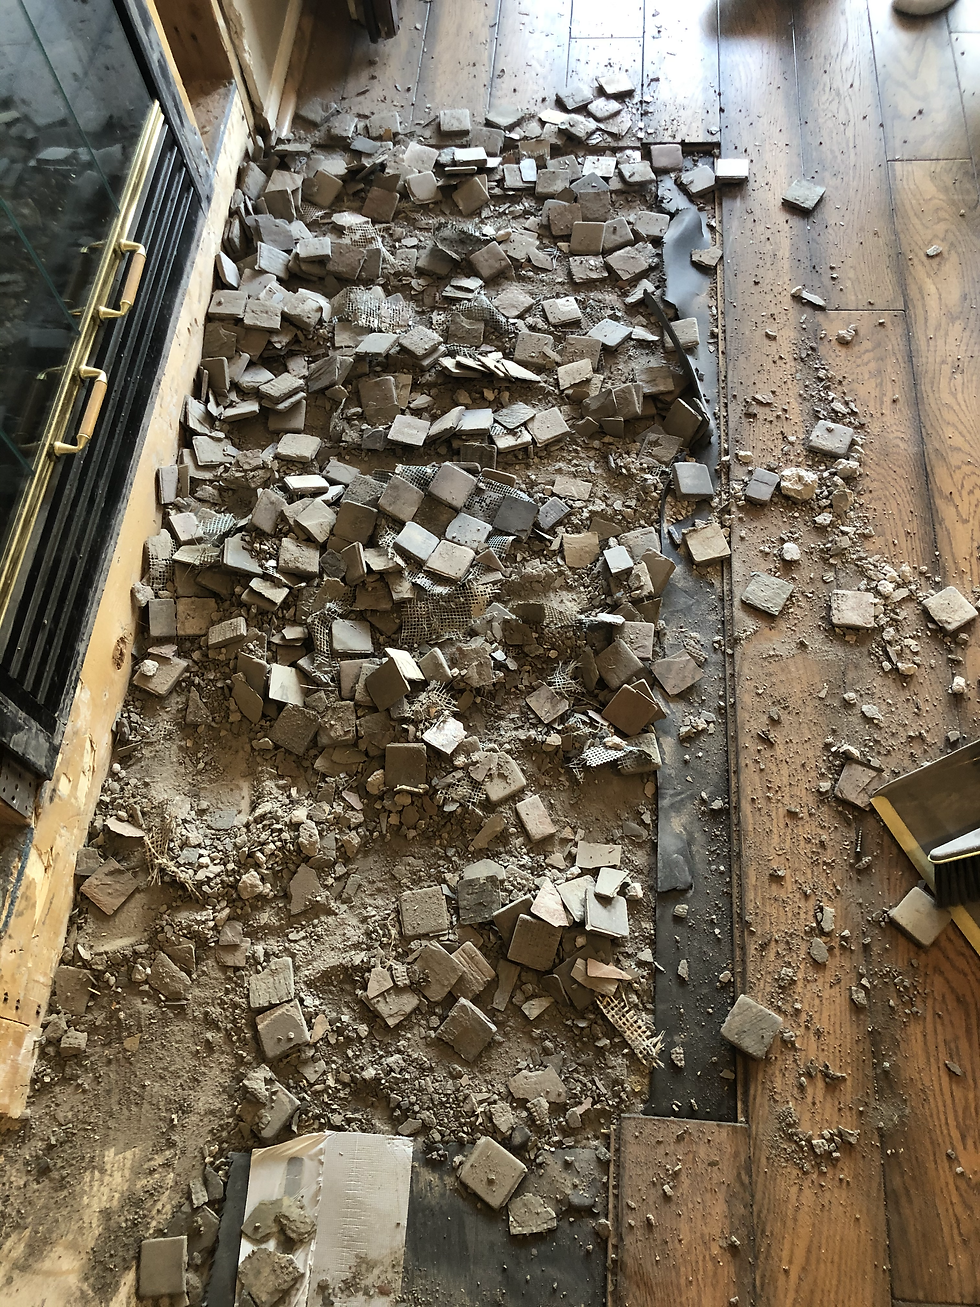
Boom! Done. Problem solved.
Before I move on, though, let me tell you about this tool! First of all - wear some sound counciling headphones AND ear plugs because this thing is LOUD!!! You could hear it from a mile away! Yet somehow, Callie slept through the whole thing hahaha. Unfortunately, renting the tool cost a total of $178, but that's why you always round up to budget for these unforeseen events. Here's the dumbest part of the story though: when the employee brought the tool out to us (after we had already paid, of course) we realized it came with a handy stand! Tyson asked how much it was to just rent the tool without the stand/roller and it was only, like, $80! HA! Since this was our first time using this kind of tool we figured the stand/roller thing would actually be smart to have. But, next time we will probably just rent the $80 tool itself and save 100 bones! HA!
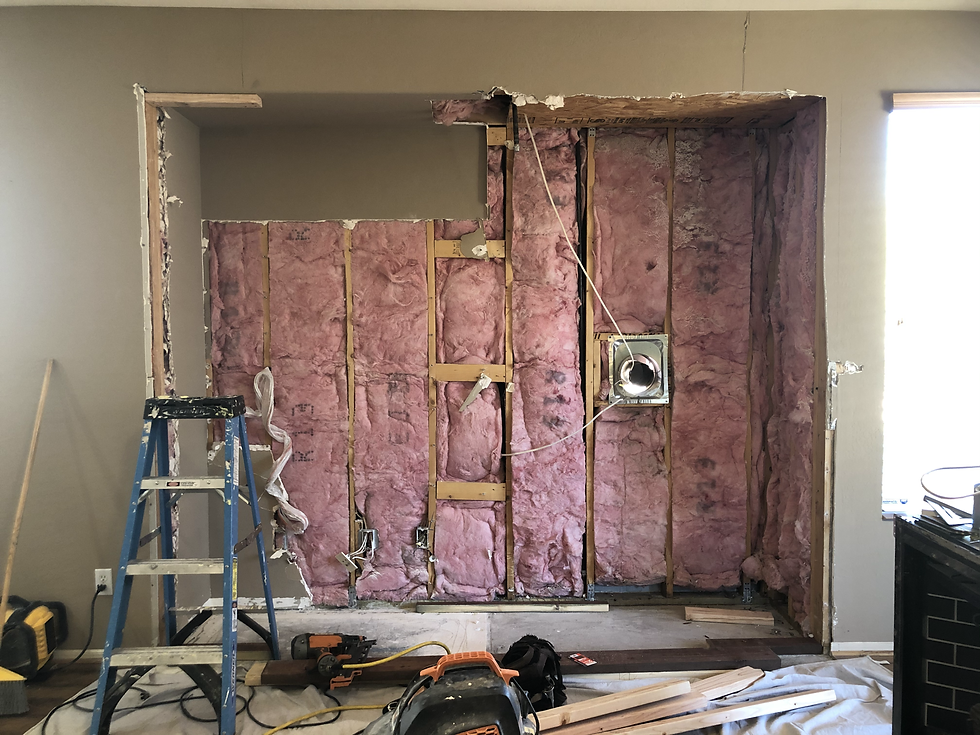
Contractors came and did their thang
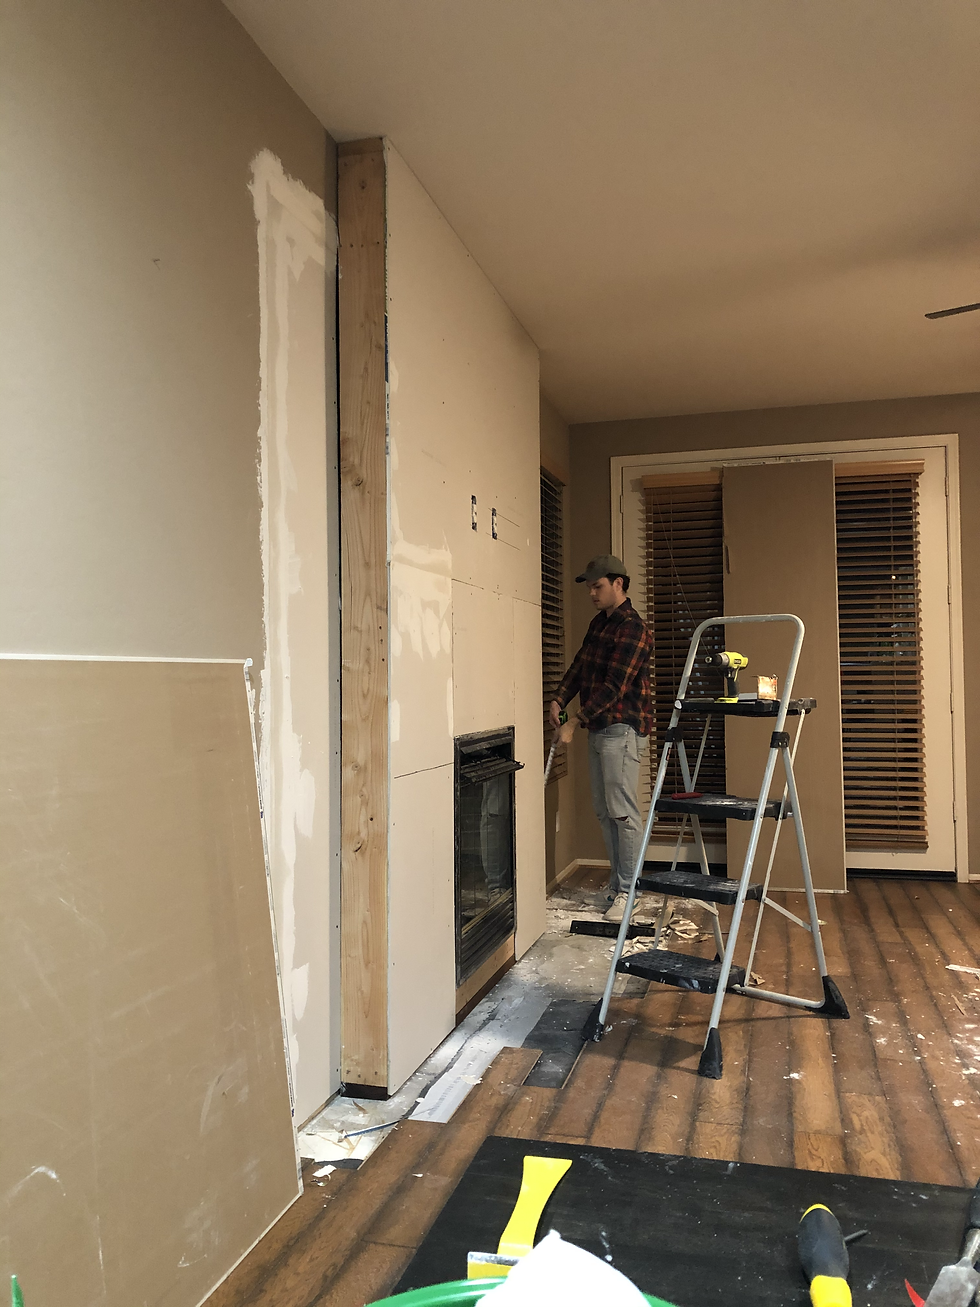
I found a fantastic contractor in the area, Liberty Plumbing and Solar! They gave a fairly priced quote, were wonderful to talk to, and work with. I was more than impressed with our team-work in this project. Liberty took out the fireplace, the framing around the fireplace, and some extra drywall on the left side. They installed the fireplace in the new location (3 feet to the left of where it was previously housed), rerouted the gas line, ventilation, and electrical to accommodate the new location, properly framed the fireplace, and framed out our new structure. They also moved the electrical to accommodate our TV hook up above the fireplace, and made sure to put reinforcements where we will likely be installing our mantle. They did a lot to say the least! These were all things we did not feel comfortable doing ourselves and it was money well-spent hiring out the work! There are some things that are not worth the risk to mess with... for us, gas lines, electrical, and proper framing is one of them. (Especially that part about gas lines...)

Because this project took a lot of planning and the dimensions were extremely important to communicate, I used my taped mock-up as a reference to explain the plan and expectations for the project. This mock-up reflects the exact measurements to the T. The contractors referenced this many times to make sure they were spot on. I highly recommend doing this - it makes for fluid communication.

Now, the baton was passed back to us to finish up this project!
Tools at the ready...

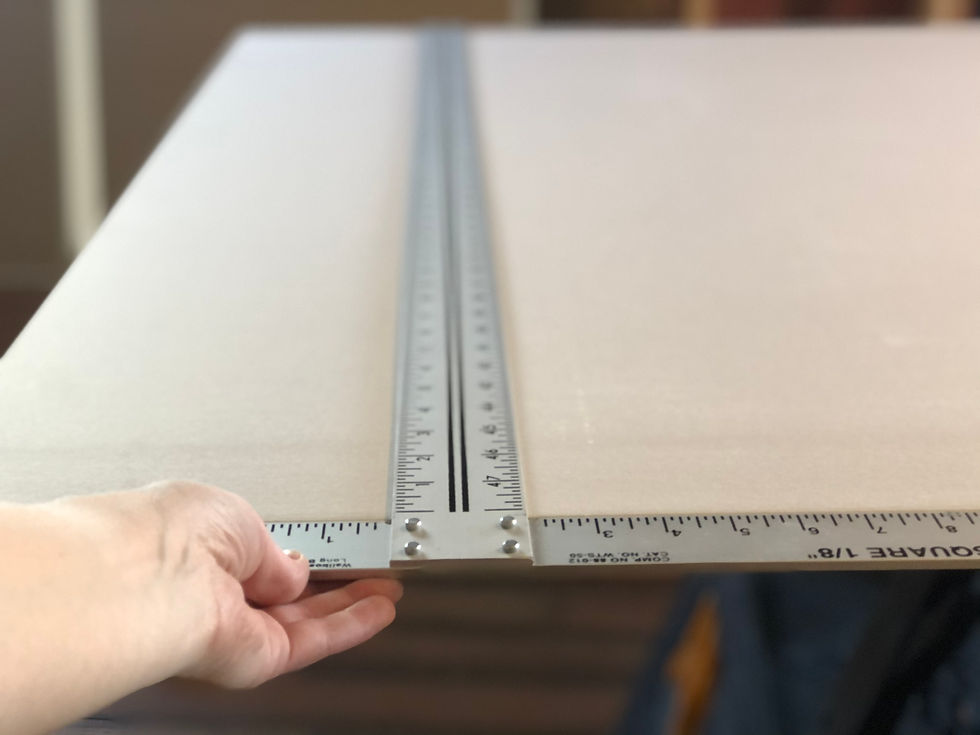
Drywall
Tyson was next up on stage to do the drywall. Step one: measure the areas you need filled in with drywall. Step two: measure again. Step three: triple check! Next, use Tyson's favorite tool to mark your cuts on the drywall sheets.
Use an exact knife to cut along your markings. Have someone hold up the drywall where it needs to go and, using drywall screws, screw it into your framing. Repeat until your gaps are all filled in keeping all your drywall sheets as flush as possible.

After the drywall was hung, we mudded over the screws and the cracks where the sheets meet. We placed a layer of drywall tape (learn from our mistake and get netted tape instead of paper - this will ensure you don’t get air bubbles under your tape as it dries), and another layer of mud over your tape. After that dries apply more mud over the cracks to feather in the mud so you have a smooth surface.
We used vinyl corner strips on the front 2 corners of the framing to ensure a nice sharp edges.

After all the mud was dried, we sanded it down till smooth to the touch. Some spots (especially along the wall where the old drywall met the new drywall) needed another wide layer of mud to make sure it was all smooth and leveled out.
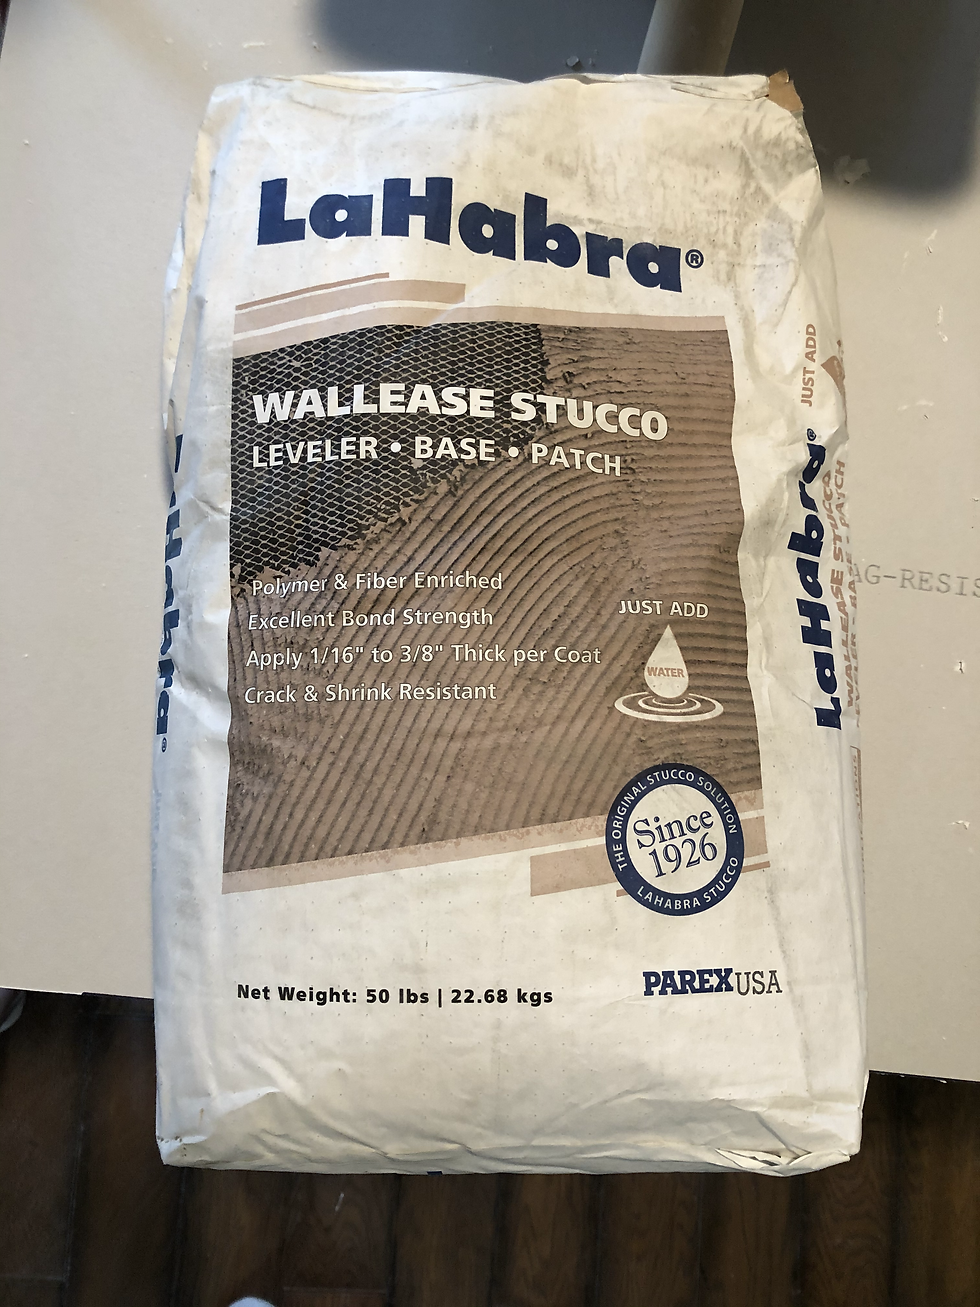
Apply the Stucco
I used LaHabra Wallease Stucco. I poured it into a bucket, added water according to the proportions on the bag. Then we mixed it together by putting a paint mixer attachment on our drill. Tyson did this part for me and as he was trying to mix the thick materials, we started smelling something smokey! Shortly after the smell, his drill started making funny noises! Two seconds later Tyson's hand was on fire! (not literally! ha, but he did get a little electrical burn on his hand). His drill was NOT powerful enough for the task! We let the drill cool off for a while and tried it one more time... but that thing was shot!
Unfortunately, we had to buy a new (more powerful) drill. Tyson wasn't too upset about this! In fact, when he came back with his new Milwaukee drill and began mixing the stucco he was literally laughing hysterically from pure shock of the difference in power! Needless to say, he loves his new drill and he feels like a new man.
After the stucco was all mixed to a consistency of pancake mix (thin enough to keep the application thin/more smooth, but thick enough to make the application process possible) I did a little test on an extra piece of drywall... It was a hot mess! Haha. I was so scared to do this! You can watch a million YouTube videos and read a thousand tutorials, but actually doing it is another thing! After tackling my first little section, I started to get the hang of it!
I tried using a larger trowel (one actually intended for applying stucco - ha!), but I just could not finagle that thing! The stucco is super heavy and drips everywhere if you’re not quick enough (aka a professional)! The smaller trowel helped me keep control of the material better. The best way to describe how to apply the stucco is to pretend your icing the vertical walls of a giant cake with frosting! And it does dry quickly, so you do need to move at a consistent pace and keep momentum.

(Feat. 22 week prego belly)
One mistake I made, despite reading a million times NOT to do this... was working in obvious sections...


This caused wet stucco to be applied over dry stucco and creates a thicker layer of stucco in that one area instead of smoothing it into each other. This isn't the worst thing, because it will all be sanded down - but it just creates more work.
After finishing the application and letting it dry, I still felt like it was a little more rough then what I was going for. So, I burned through a million sand paper strips and sanded down this entire thing! That was... fun. Ha! After hours of sanding, we were able to get a much smoother texture that I was super happy with! And that crusty line was basically gone - whew!

Update the Fireplace
Those gold strips, and wood/gold hardware had to go. Also! Remember that tough tile that went around the fireplace? Well, they had actually put the tile OVER the frame of the fireplace that actually took off an inch around the fireplace making it look even smaller than what it was.

We sanded down the frame of the fireplace where there was residual thin set, removed the wood/gold hardware, and spray painted the gold strips with heat resistant black spray paint (intended for grills).


Aaaand... BOOM!
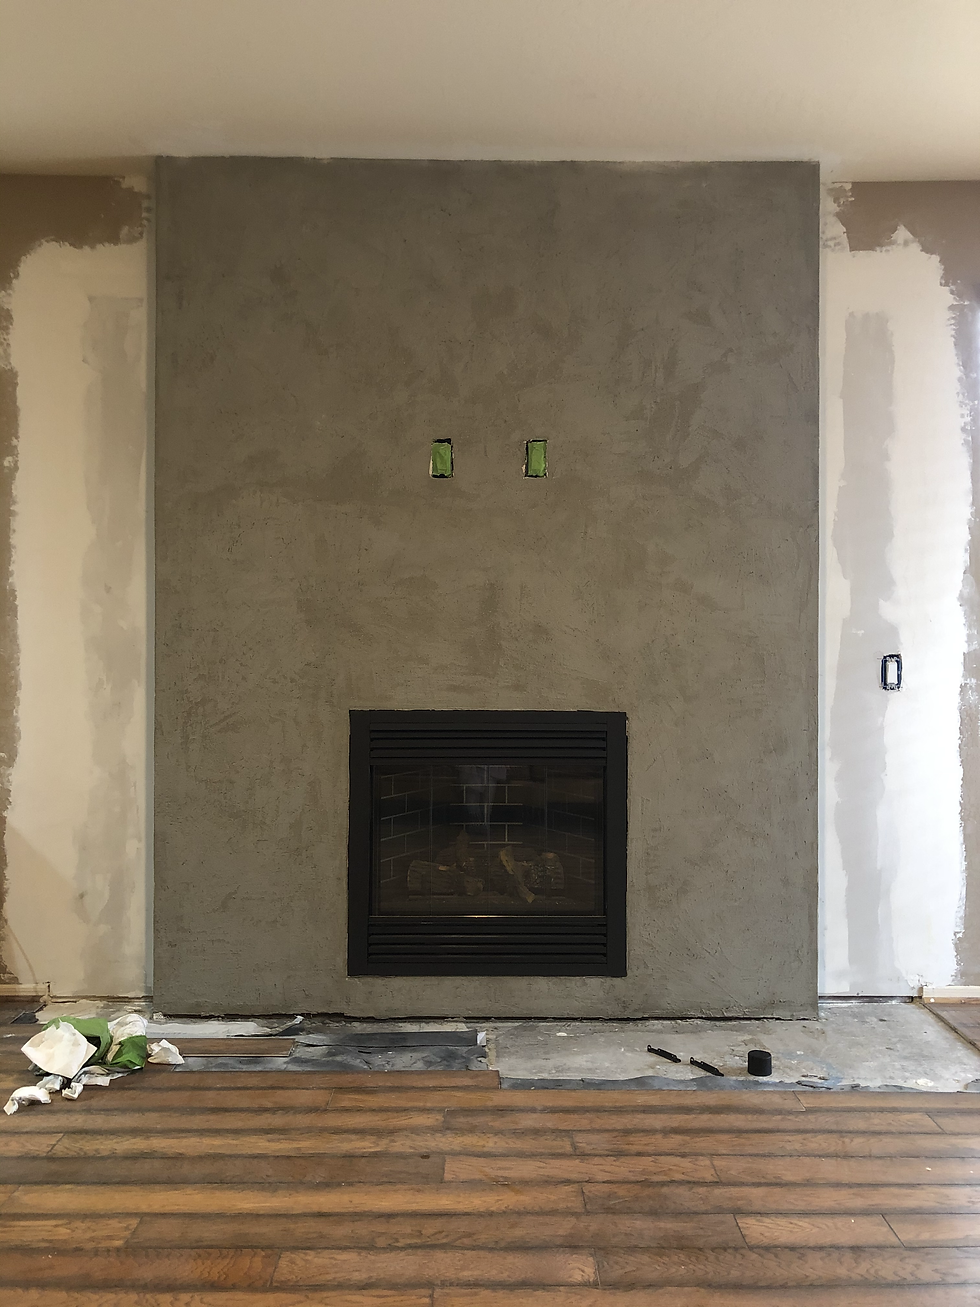
Eliminating the gold strips and uncovering the entirety of the frame really made the fireplace look much bigger! Here's a side-by-side:

Texture the walls
Because the texture on the walls in our home are very unique, I hired someone to come and do the texturing for us. He quoted me $100, but this sweet man was in-and-out within 15 minutes and insist I didn't pay him for his work! How awesome is that?!
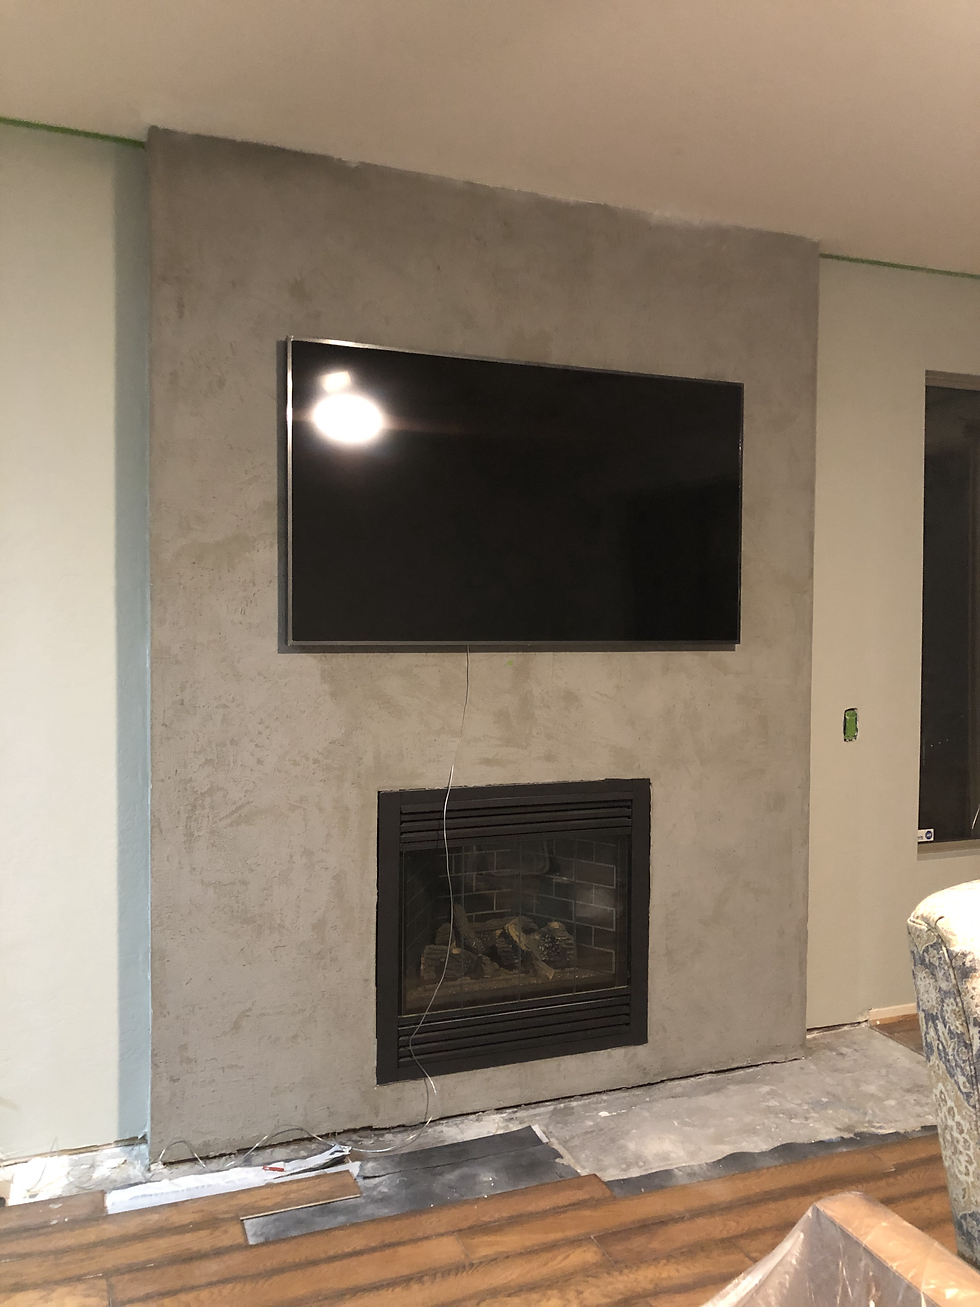
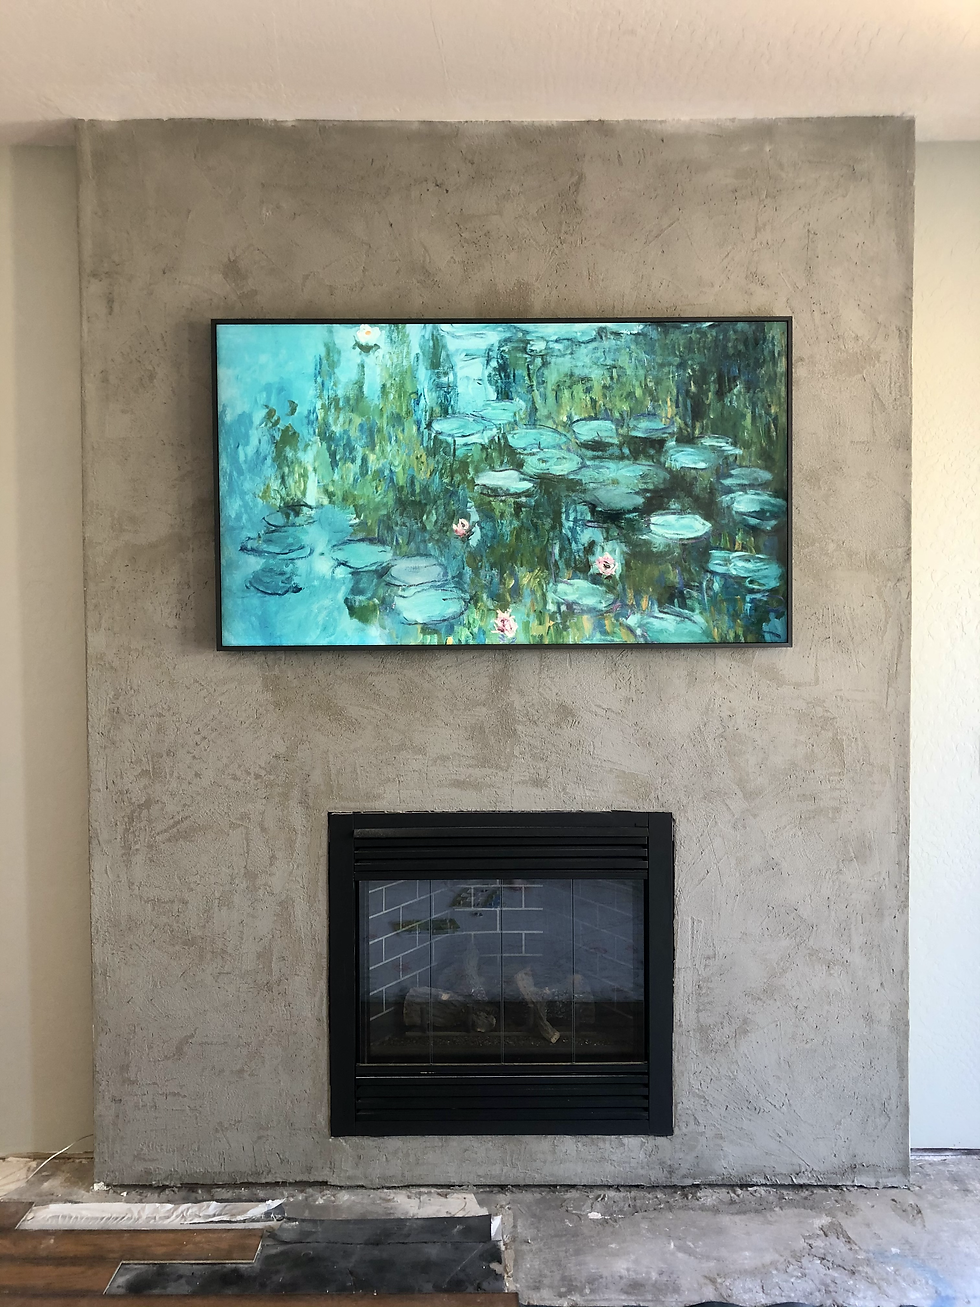
The TV
Last but not least... We got a new Samsung Framed TV and we LOVE IT! We realized that our current TV would sick out so far from the wall it just wouldn't look quite right. I've been wanting one of these for a while and thanks to Chris Loves Julia's recommendation to shop for these bad boys on Ebay, I found one for a great deal and couldn't pass up the opportunity! A pet peeve of mine is having the TV be the main focal point of your main living area. Though Tyson and I love a good Netflix binge, we love face to face with good company much more. Eliminating the TV fosters more conversation and intimate time together. However, considering our living room is the only place for the communal TV, the Samsung Framed TV just seemed perfect for us! I love the art default when we aren't watching a show.
What's Left To Do
As of right now, we still have some minor final touches to finish this project:
Get and install a mantle
Fill in the small gaps between the fireplace and the plywood
Touch up the ceiling paint
Put our flooring back
Add baseboards along the wall
The original plan was to paint this sucker white... and I'm still toying with that idea... or maybe doing lime wash to keep some depth to the paint...? But, once it's painted I can't go back! Sooooo I'm stalling. I just can't bring myself to cover this beauty! I most likely will when I'm ready... but in the mean time, it'll stay as is and I ain't complaining.

Cost Breakdown
Our budget going into this project was 4k and I was extremely determined to keep it under that number. I had been quoted much higher figures and told it would be a big undertaking that "wouldn't be worth it." If you haven't read about the prep-work, budgeting, and design planning for this project yet, take a look!
$3,280 - Contract work
$178 - Renting the tool to remove tile
$60 - Stucco and mud application tools
$100 - Drywall and materials
$10 - Black spray paint and painters tape
GRAND TOTAL: $3,618
I am more than pleased with how our fireplace turned out and I, personally, feel it was 110% worth the investment! I absolutely love it and am excited to see this whole living space continue to come together! Stay tuned :)
Sincerely,


Comments