

The Girls Room: Before and AFTER!
- Jessica Doberneck

- Jan 24, 2022
- 3 min read
Updated: Jun 3, 2022
Wow! Does it feel good to finally finish something, or what?! Because I wanted to finish our DIY wood beam mantle before Christmas, I pulled the e-break on the girls' room project with about 10% of the work left to do. I planned on finishing this room right after coming home from our holiday trip, but as you all know, I lost my job instead. Which not only put a halt to the girl's room project (again), but also life in general. Now, that the ball is rolling in the job search/life planning (plan A, B, C, D, E, F... X, Y, and Z), I feel like I can give myself permission to crack back into some simple projects around the house.
Luckily my renovation checklist is chock-full of little finishing projects that will finally take a few of my bigger projects across the finish line. The girls' room being one of them!
So, without further ado... Here are the before's middle's, and after's! (Feat. Links to all the products I used) Enjoy!
The best part about this project is that the flowers are intended to look childish, and since I am not a professional painter (or even close to one), achieving an "imperfect" look was a piece of cake for me! Haha!
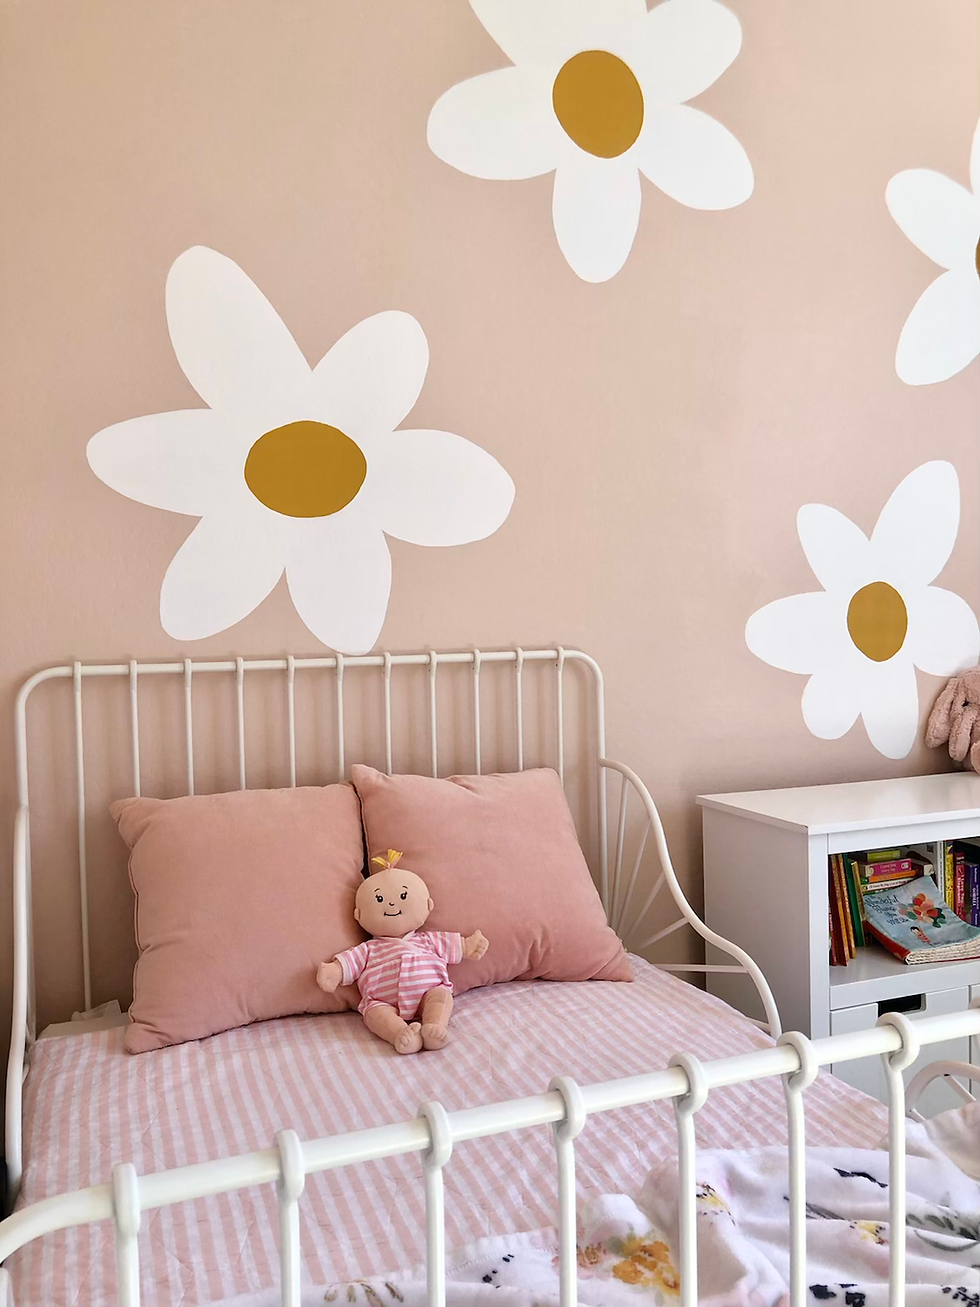
I am seriously in love with Callie's toddler bed from IKEA. The bed is the width of a twin bed and the length can expand from this toddler bed length all the way to a full-lengthed twin bed. How cool is that?! I also bought an adjustable mattress from IKEA; its base size is the toddler bed and it comes with 2 extra pieces that you can add inside the mattress casing to increase the length.

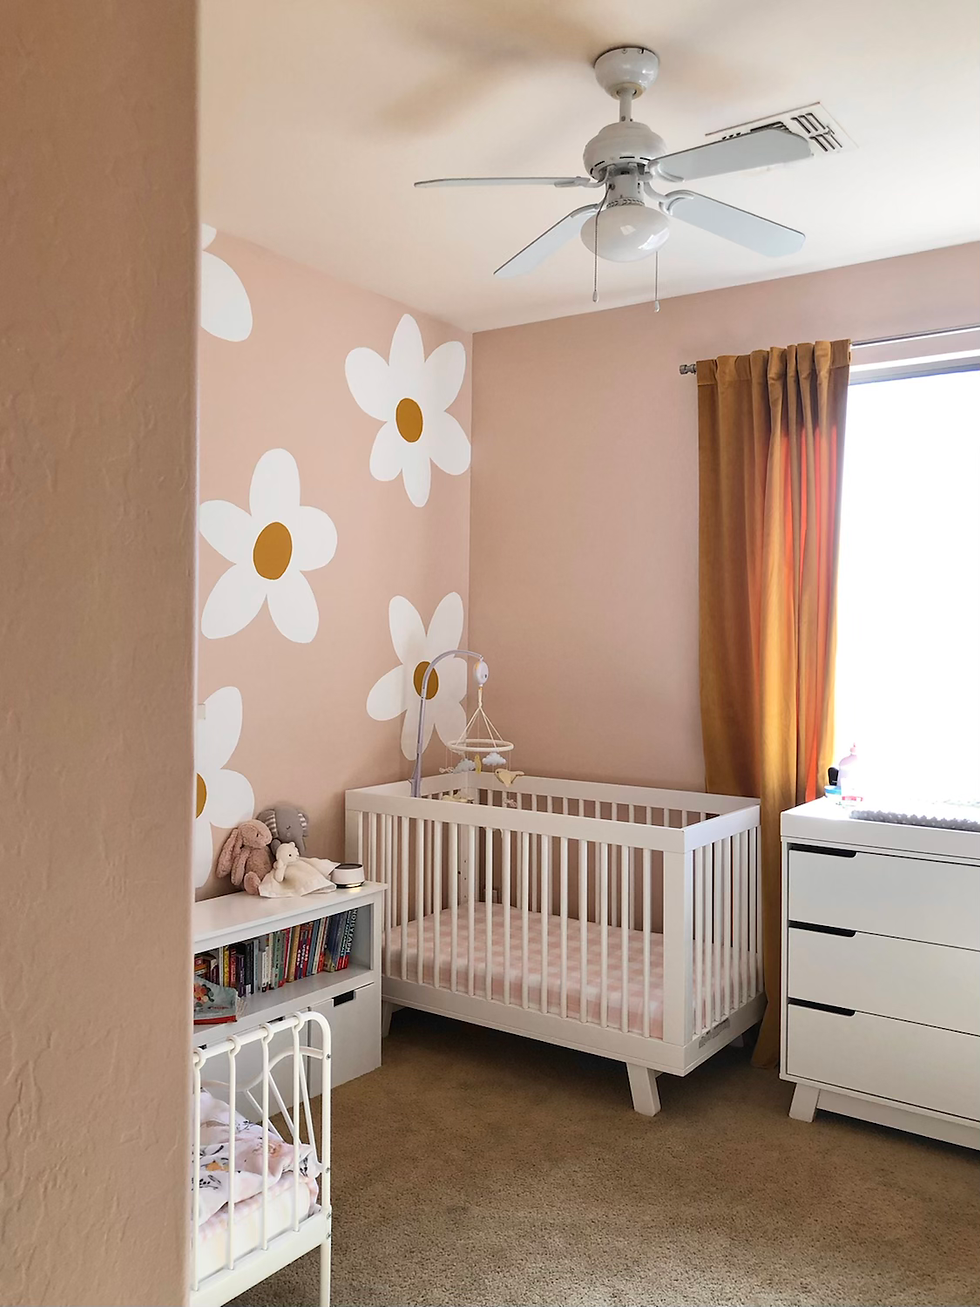
We found this toy storage piece of furniture on Amazon! We store our extra blankies and seasonal books in the drawers and it perfectly fits all of the girls' other books on top. We love it.

And there she is, in all her glory!"The Daisy Wall." What was tricky about placing these flowers was that the beds are different widths and if I wanted their bookcase/toy storage (we'll call it their nightstand! haha), to be centered with the beds, then it couldn't be centered with the wall.
To cheat the eyes and make everything appear to be centered, I placed a flower directly above the nightstand. We now claim that flower as the "true" center. I placed a flower above each bed. Then I arranged the flowers based on that bottom row. It gives the appearance that the nightstand is centered, even though it most definitely is not. Tricked ya!
I also got Jane's bedding from Amazon! I was MORE than impressed with the quality. It's so soft and surprisingly pretty thick. 10 points for style and 10 points for quality! I actually loved it so much I also bought a small matching baby blankie!

These curtains from Amazon have been one of my all-time favorite purchases. I love velvet and I love mustard yellow. It can't get better than this.
Callie still sleeps with just her baby blanket and refuses to actually sleep in her comforters. Which makes making the bed very easy for me! Haha. I purchased this twin-sized striped quilt from Target, folded it in half, and tucked it in on the sides, with her baby blanket folded at the foot of her bed. Eventually, the quilt will actually be used as bedding, but for now, it works perfectly and looks wonderful!
The velvet pillows are also from Target and were only $10 each - SCORE!
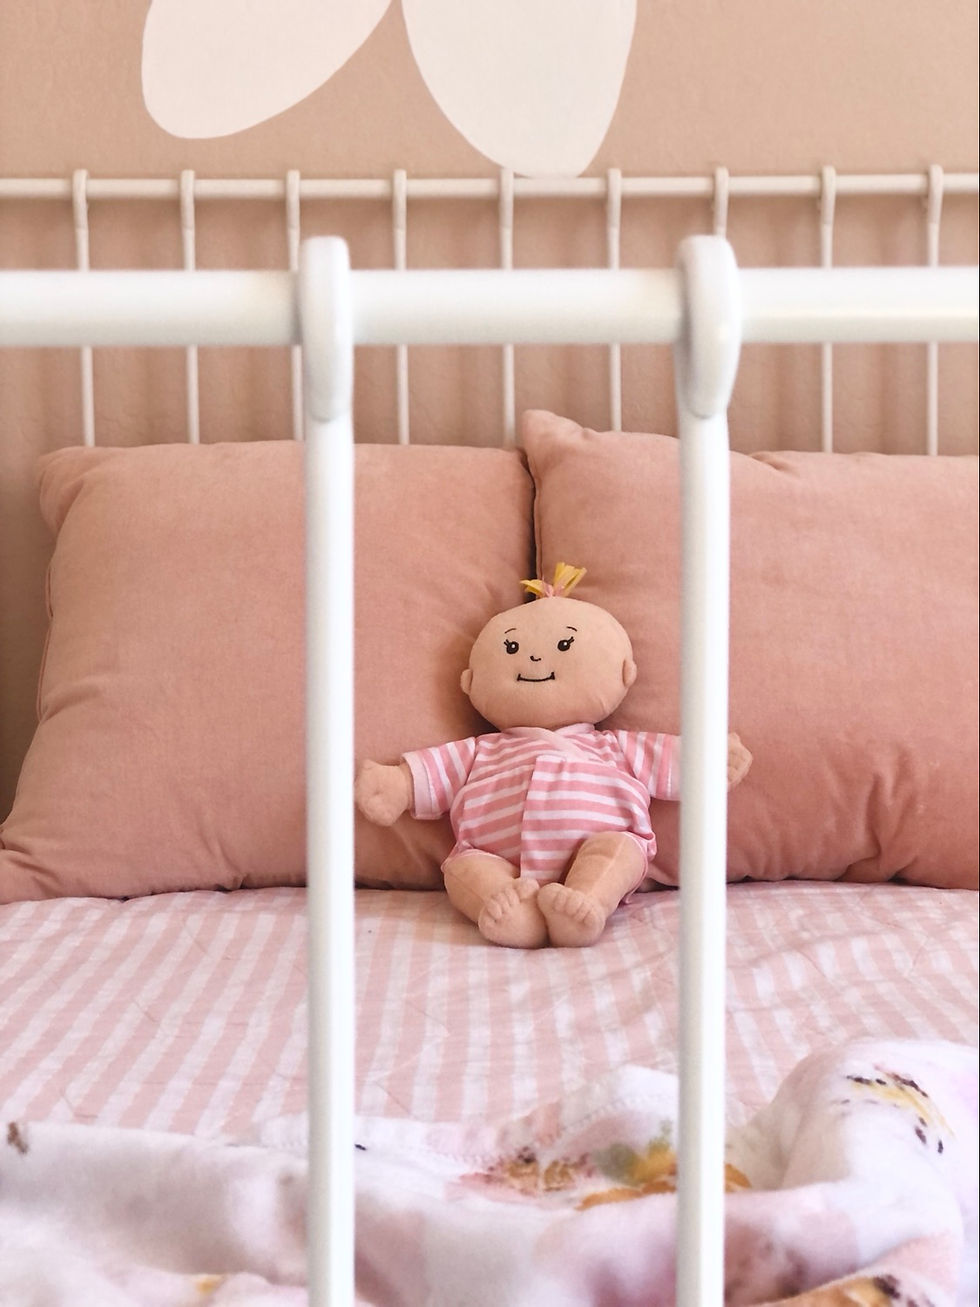
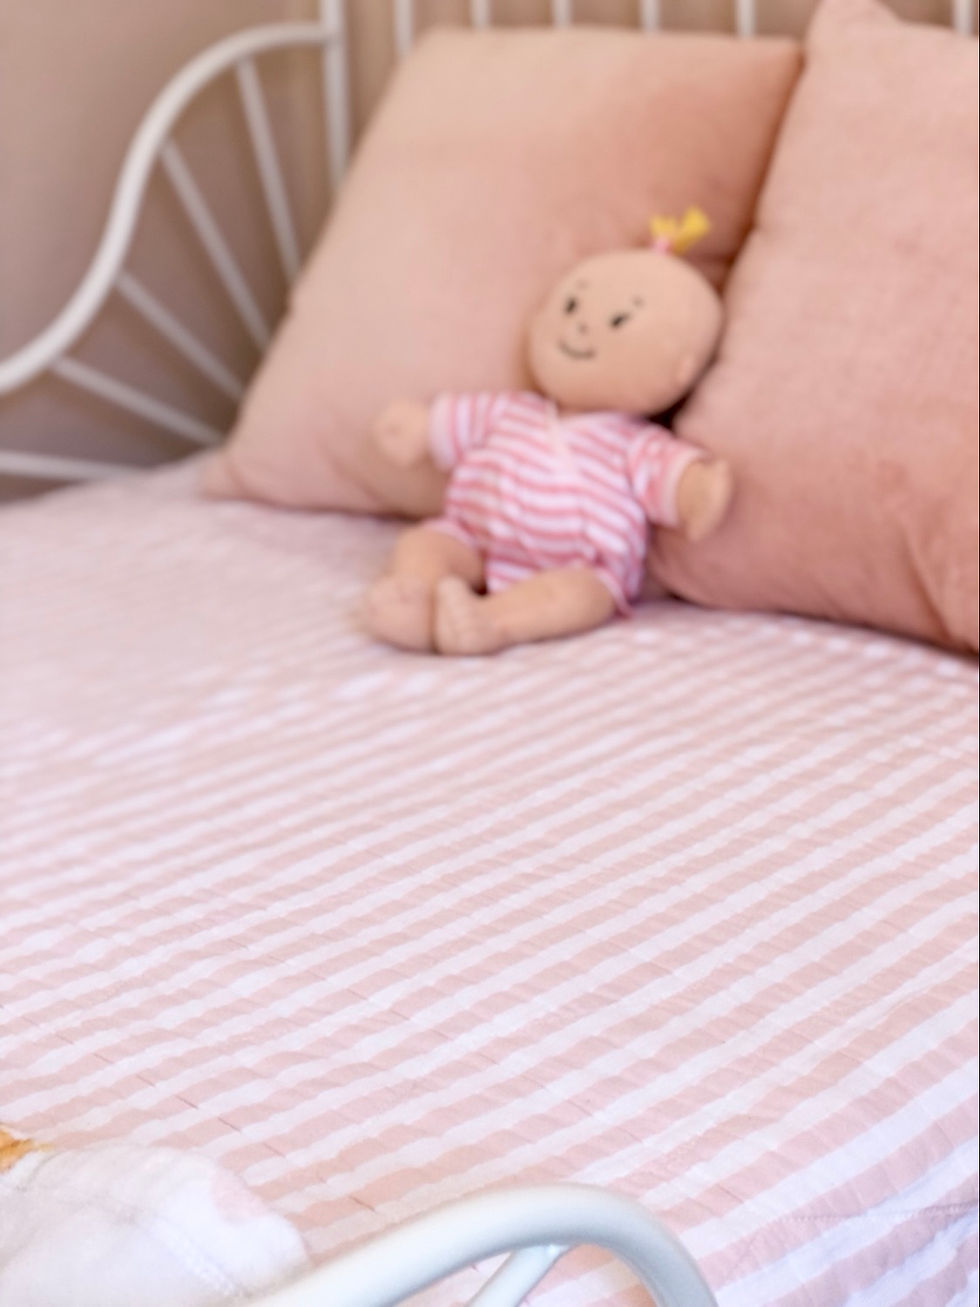
I have to give a little plug for this Manhatten Stella doll. Callie named her "Girl" (haha!). I love fabric toys because I know they can't be used to accidentally (or intentionally) injure little sisters! They are also so soft, incredibly durable, and eco-friendly. This doll was a great Christmas gift and comes with a ton of fun accessories.
Before I close, I have to share the before, middle, and after:


I love making my ideas a reality. It's so satisfying. This room has definitely come a long way.


Overall, I am so pleased with how the Daisy Wall and bedding turned out! It's crazy how the last 10% of finishing touches can really make such a difference! I'm going to put this room on pause for a few months, but I'm excited to add some wall art on either side of the beds, possibly a lamp on the nightstand, a new light fixture, and eventually new flooring.
Stay tuned! More projects to come! The question is, should I start on the backsplash or the playroom next?
Sincerely,


Comments